Hello, World Django Project for Beginner ! CSDT
Now that you know the structure of a Django application, and what you are about to build, we’re going to go through the process of creating an application in Django.
Whenever you are starting a new web development project, it’s a good idea to first set up your development environment.
Step-1 First of all you install PyCharm Community IDE for building Django project fast and easy way. Download PyCharm IDE click here.
Step-2. After Download PyCharm we install successfully and open it.
Step-3 After Open PyCharm IDE, we Create new project with default environment.
Step-4. After performing above steps, we go to terminal windows (He available in bottom of PyCharm IDE.)
Step-5. In terminal Windows we write some command for installing Django. Command: pip install Django
Step-6. After installation of Django , we create Django Project by using this command.
Django-admin startproject projectname .
Step-7. After creating Django project we create Django Application in Django project by using this command:
python manage.py startapp appname
Step-8. After creating app we check your app is creating successful or not by using this command:
python manage.py startserver
Then, in your browser go to localhost:8000, and you should see the following:
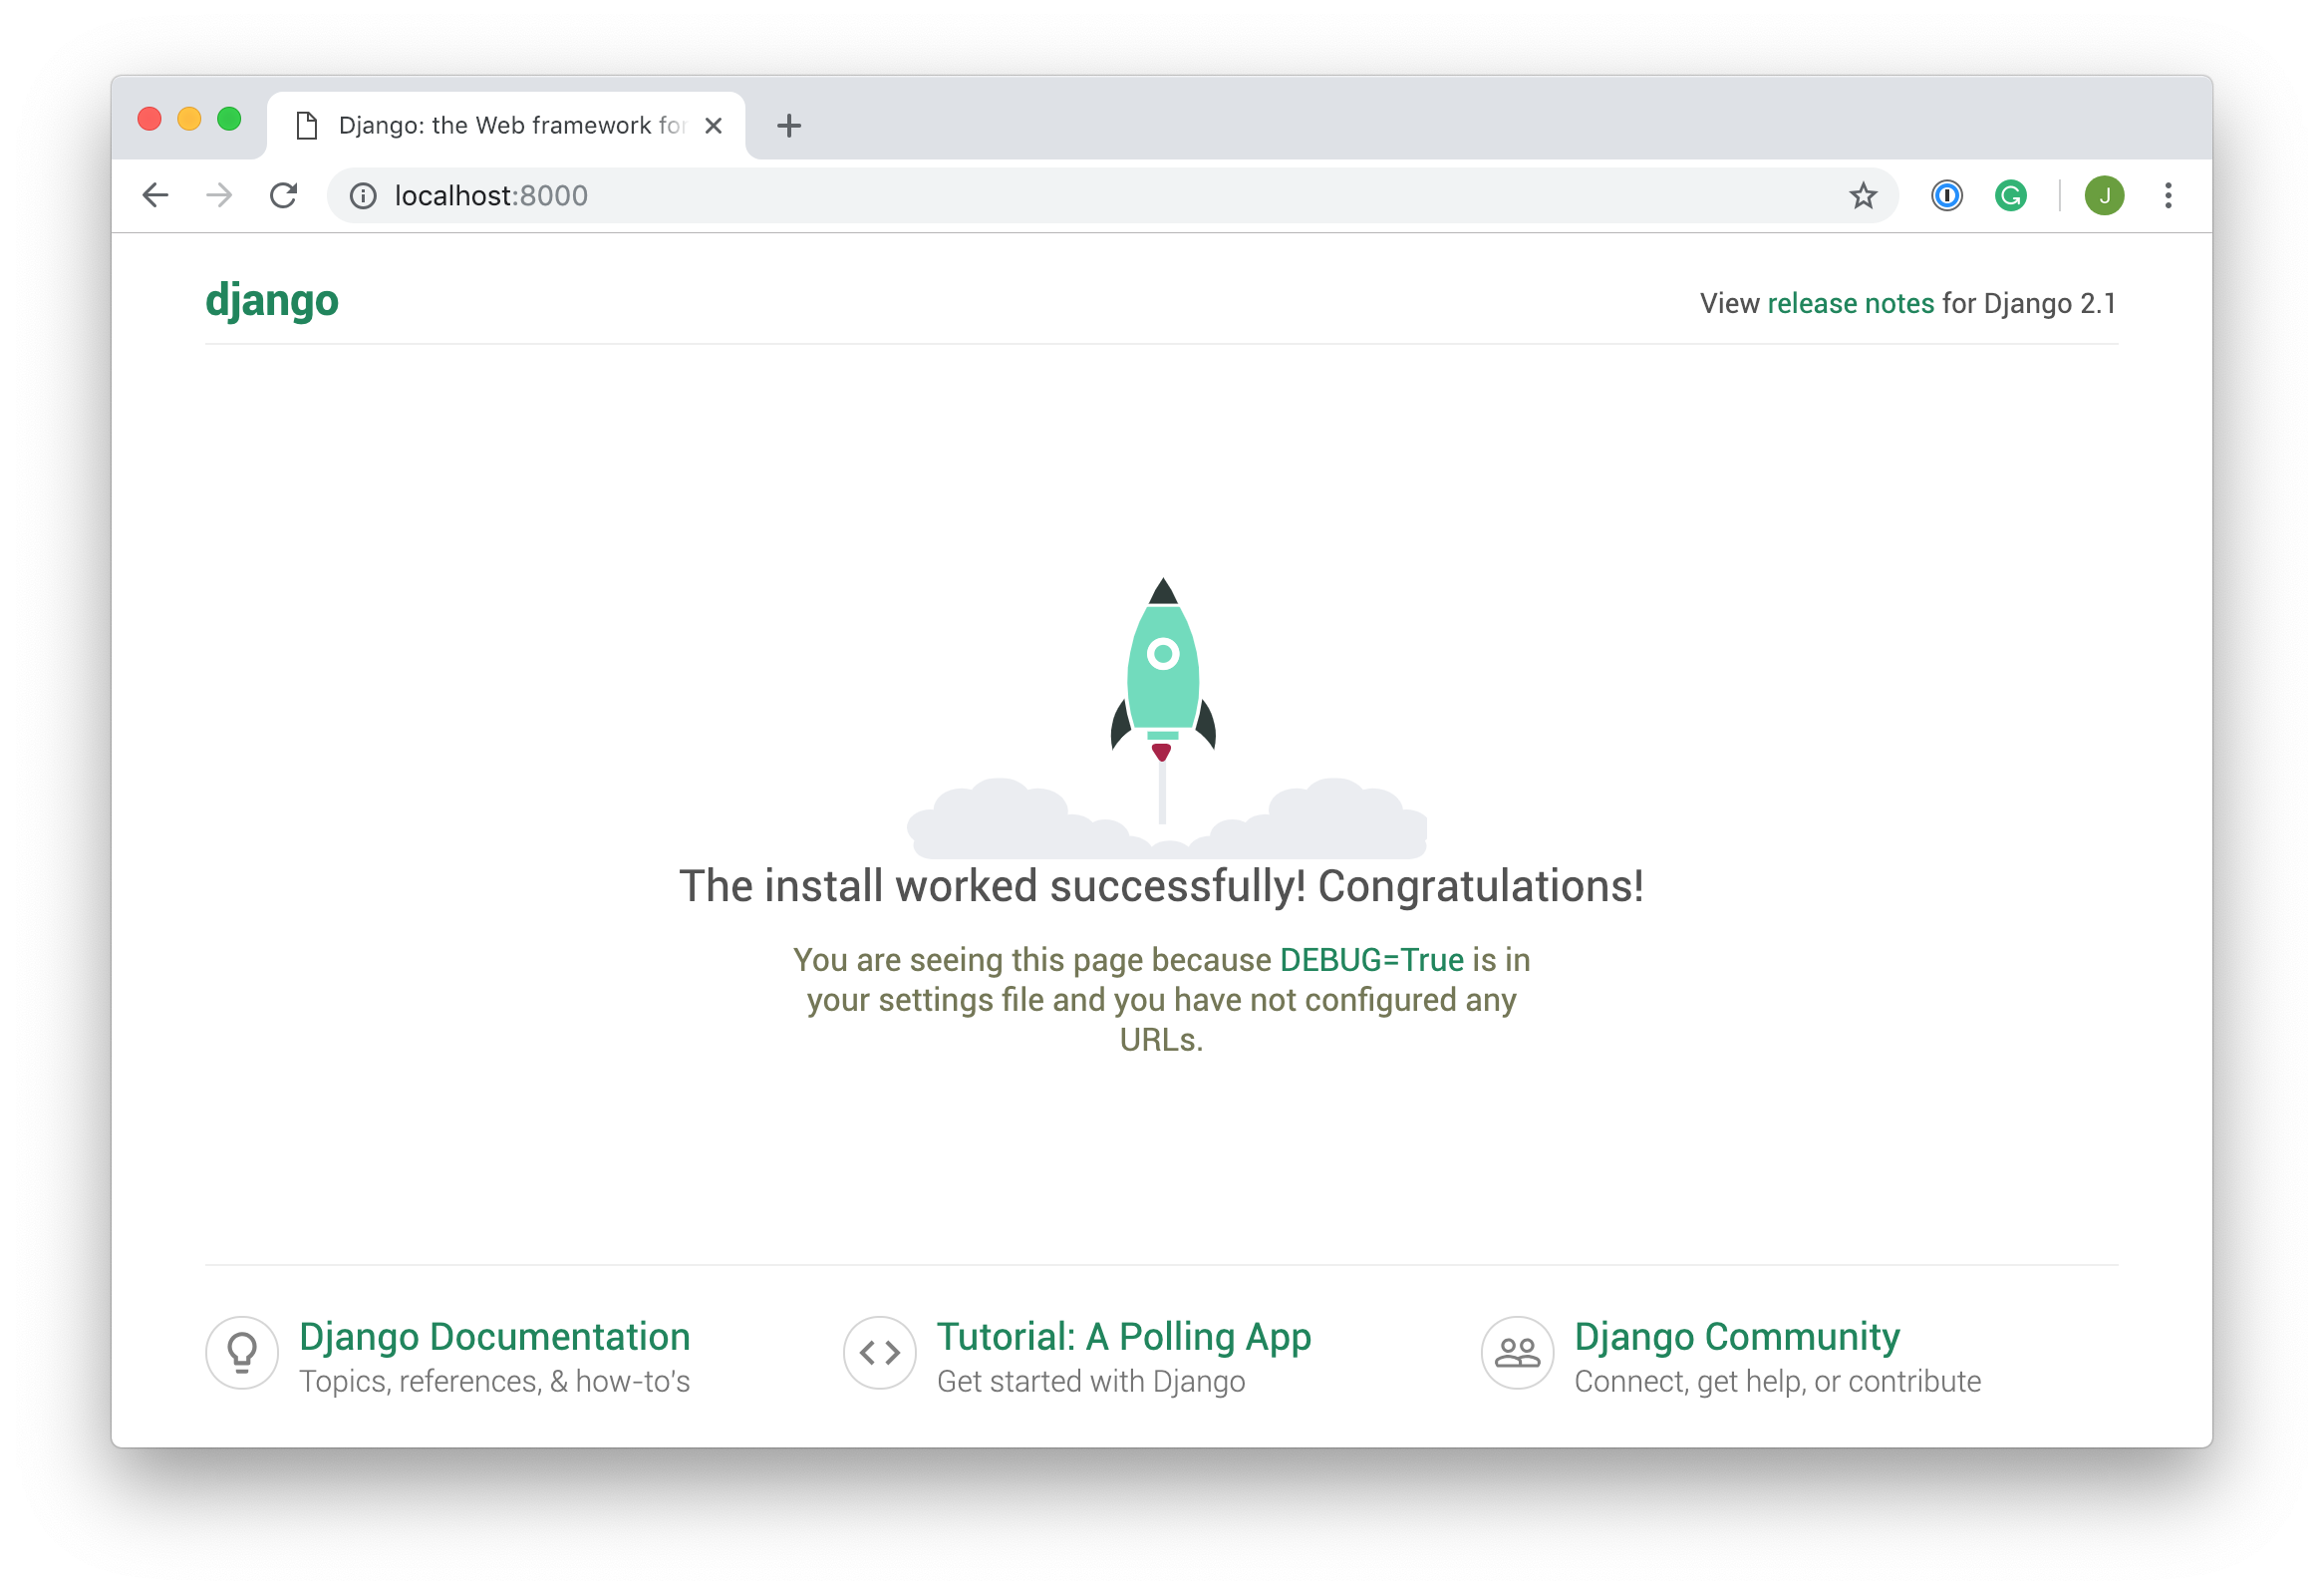 Congratulations, you’ve created a Django site!
In Your Django App several files automatic generated:
Step-9. Once you’ve created the app, you need to install it in your project setting.py file.
INSTALLED_APPS = [ 'django.contrib.admin', 'django.contrib.auth', 'django.contrib.contenttypes', 'django.contrib.sessions', 'django.contrib.messages', 'django.contrib.staticfiles', 'AppName Here',]
That line of code means that your project now knows that the app you just created exists.
The next step is to create a view so that you can display something to a user.
Step-10. Create a View
Views in Django are a collection of functions or classes inside the views.py file in your app directory. Each function or class handles the logic that gets processed each time a different URL is visited.
Navigate to the views.py file in the AppName directory. There’s already a line of code in there that imports render(). Add the following code:
from django.shortcuts import renderdef hello_world(request):    return render(request, 'hello_world.html', {})


In this piece of code, you’ve defined a view function called hello_world(). When this function is called, it will render an HTML file called hello_world.html. That file doesn’t exist yet, but we’ll create it soon.
The view function takes one argument, request. This object is an HttpRequestObject that is created whenever a page is loaded. It contains information about the request, such as the method, which can take several values including GET and POST.
Now that you’ve created the view function, you need to create the HTML template to display to the user. render() looks for HTML templates inside a directory called templates inside your app directory. Create that directory and subsequently a file named hello_world.html inside it:
Step-11. We create templates by using this command:
mkdir AppName/templates/


Step-12. After creating templates directory we create html page in it.


Step-13. After creating html page.

You’ve now created a function to handle your views and templates to display to the user. The final step is to hook up your URLs so that you can visit the page you’ve just created. Your project has a module called urls.py in which you need to include a URL configuration for the hello_world app. Inside personal_portfolio/urls.py, add the following:

from django.contrib import adminfrom django.urls import path, includeurlpatterns = [    path('admin/', admin.site.urls),    path('', include('hello_world.urls')),]


This looks for a module called urls.py inside the AppName application and registers any URLs defined there. Whenever you visit the root path of your URL (localhost:8000), the AppName application’s URLs will be registered. In your  AppName urls module doesn’t exist yet, so you’ll need to create it: